Any photographer wanting to expand their portfolio or simply produce their own favourite photos may enjoy practicing on Waterfalls, Rivers and Streams.
Here are some Tips on Creating Smooth Photos of Waterfalls, Rivers and Streams...
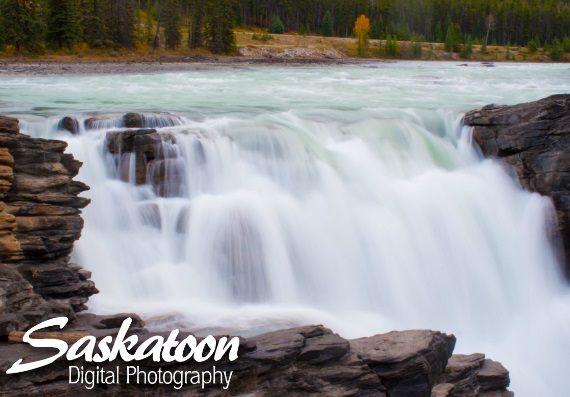
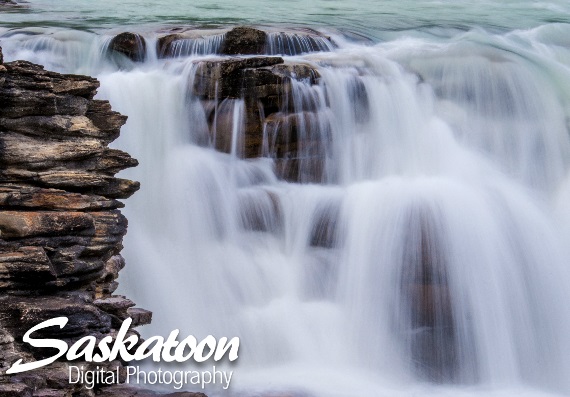
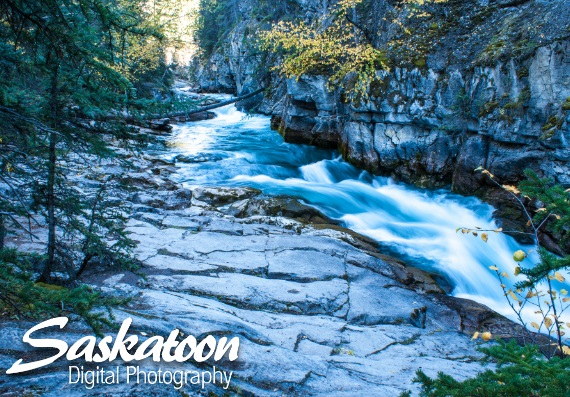
Turning waterfall photos into silky smooth water is just one simple effect. It is simply a motion blur. The trick really isn't the achievement of a photo blur, it's getting one part of your photo to blur while everything else stays still. Using a tripod will help keep everything in the shot still while the water continues to move. Once you achieve the correct exposure, your photo will appear just like it would to your eye, except the water will be smoothed over. For waterfalls, this effect does help to give a better impression of the "movement" of water... which helps remind us all of that moment when you can feel the spray and hear the power.
Some professional photographers might suggest you need a number of neutral density (ND) filters to get a great long exposure, but this isn't really necessary. If you have a camera that can shoot with a delay on manual and a tripod, you are all set! Even if you use a dark ND filter on your lens, if the sun is bright overhead, you will have bright "hot spots" and dark shadows that won't look their best. Light is harsh and flat when shooting these types of photos, so the best thing to do is visit your favourite waterfalls, rivers and streams at sunrise and sunset or during a cloudy day. The pitfall of course being that you may want to eliminate the sky from your shot, unless your environment creates what you want with your waterfall.
If your waterfall is in a deep canyon with the sun behind the mountains, this will likely offer enough shade to achieve a long exposure even during a sunny afternoon. If you already know whether your waterfall is facing East or West, it will assist you in knowing what time of day to visit and take your best shots. For example, a West facing waterfall will be best shot in the early morning.
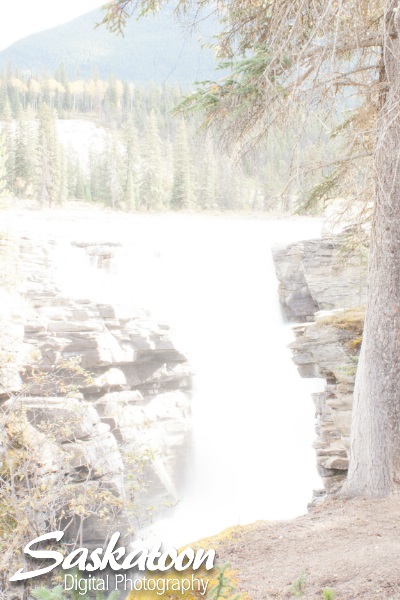
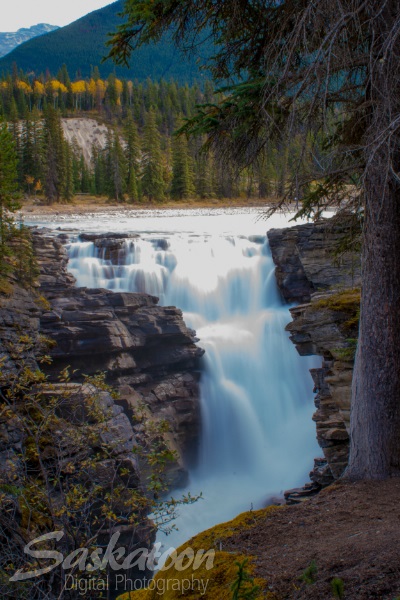
The 2 pictures below show what you can probably expect on a normal sunny day (left), as opposed to a photo more closer to sunset (right). *Without filters. Overexposed pictures can be corrected with some editing, however. (Raw format's help)
Creating Your Chosen Waterfall Effect
To create this fantastic effect, first switch your camera's setting to shutter priority mode (the "S" or "Tv" on the dial) and set your shutter speed to a slow setting. The slower your shutter speed the silkier smooth your waterfall will appear, but the less detail will show. We typically change the shutter speed and shoot several photos, picking our favourite waterfall pictures to edit later. This is the part that may be personal choice and ultimately, it's your photo, so you will find the shutter speed for the falls you love.
Adjusting your shutter speed to a setting that is far too long will force your camera to deal with too much light, causing your photo to be overexposed. With longer shutter speeds, you will have to consider all the elements of your image that might also be moving like tree leaves, vegetation, wildlife and other people. The more moving parts in your background, the more blurry spots you will find all over your photo... not just in the waterfall.
To increase the control over your waterfall photographs, try switching to "manual" mode. Controlling both the aperture and shutter speed to perfect your situation will require a little experimentation.

Adjusting for Different Types of Waterfalls, Rivers and Streams
When you are "reading your waterfall" you will probably easily identify the types of movement that may take your breath away, or be more delicate. On manual, we usually start with an ISO of 100 and adjust the aperture small enough to maximize focus, typically around f/8 to f/10. For larger waterfall pictures, you will probably find keeping your exposure to under a second will be necessary. Anything between .25 to a full second will show the water's motion and still retain detail in that movement.
Small waterfalls, rivers and streams can handle longer exposures. In fact, pictures of small waterfalls or streams often look best with as long as possible exposure. You will have to compromise for slight losses in sharpness, but they are often only visible when photos are expanded(views more than 100%) or compressed(changed to web friendly smaller formats), which is definitely outweighed by capturing the water's movement.
Using Your Camera's Light Meter to Get Vibrant Colors
Whether you can see it, know it or not, modern cameras usually have a light meter. When your camera is in "automatic mode", the light meter will read the light levels in front of your camera and determine the ideal combination of shutter speed and aperture for that shot. Today's cameras will get it right most of the time, but when trying to create unique photographs, especially in this situation, the light meter might get it wrong. When your camera views the reflected sky in the waterfall it can cause some miscalculations.
The great thing about shooting in manual mode is that you get to decide which colors should be perfect. Doing this requires pointing the camera towards something possibly green in your shot, then adjusting your aperture and shutter speed settings until the light meter shows you'll get a correctly exposed image. You will probably be able to see the light meter in the viewfinder of your SLR. You will know you have great aperture and shutter speed settings when there are no bars in the positive or negative direction, telling you that you are about to take a photo that will be too bright or too dark. Once you have your desired setting, focusing back on the waterfall should still maintain and correctly expose the green elements, appearing the most vibrant.
The Perfect Waterfall Photo
While our examples are not perfect, they are what we may have desired in our shots. As you can plainly see, some are also certainly not what we desire in our shots! You WILL find the right settings that will give you "Your" perfect waterfall and like anything in photography, it takes practice and experimentation.
Have fun out there and please feel free to contact us any time for assistance in editing any shots you may like further adjusted or edited.
Digital Photography and Design Blog >>